Roof Shovel Head in Reclaimed Wood Frame
Dimensions: Length, 25.25 inches; Width, 12.5 inches; Depth 4.5 inches; Weight, 13 pounds. Okay, here’s the scoop: Not everyone will dig a framed shovel head, but I’m certain some people will. A unique and rustic agricultural/industrial piece might be just what you’d like to see on a wall inside your house, she-shed, man-cave, or perhaps in restaurant or bar with a farm-to-table theme. I have not attached D-rings to the back, because I don’t know which side you’d want up (I think the piece could look good with the head oriented up, down, or to the side), but if you tell me, I could do that for you before delivery. $125. But If you buy both framed shovel heads, like a fork and spoon set, I can give you a little discount. Click here to purchase.


The Story
Shortly after I found a round-head shovel, coincidentally I found this other shovel leaning against a telephone pole in an alley of my Glover Park neighborhood of D.C. A sign above it said, “Free,” so of course I took it. I’d never seen a shovel like this. (It has the shape of Bart Simpson’s head.) But with a bit of Google image searching I determined it’s a roof shovel, meant for prying up shingles, nails, etc.; the reinforced back gives it more strength and leverage. (Soon after I found it, I saw Johnny Jett on “Barnwood Builders” use one just like it, but he was removing exterior siding boards, not roofing material.) I cleaned up the head with Comet, water, and a wire brush.
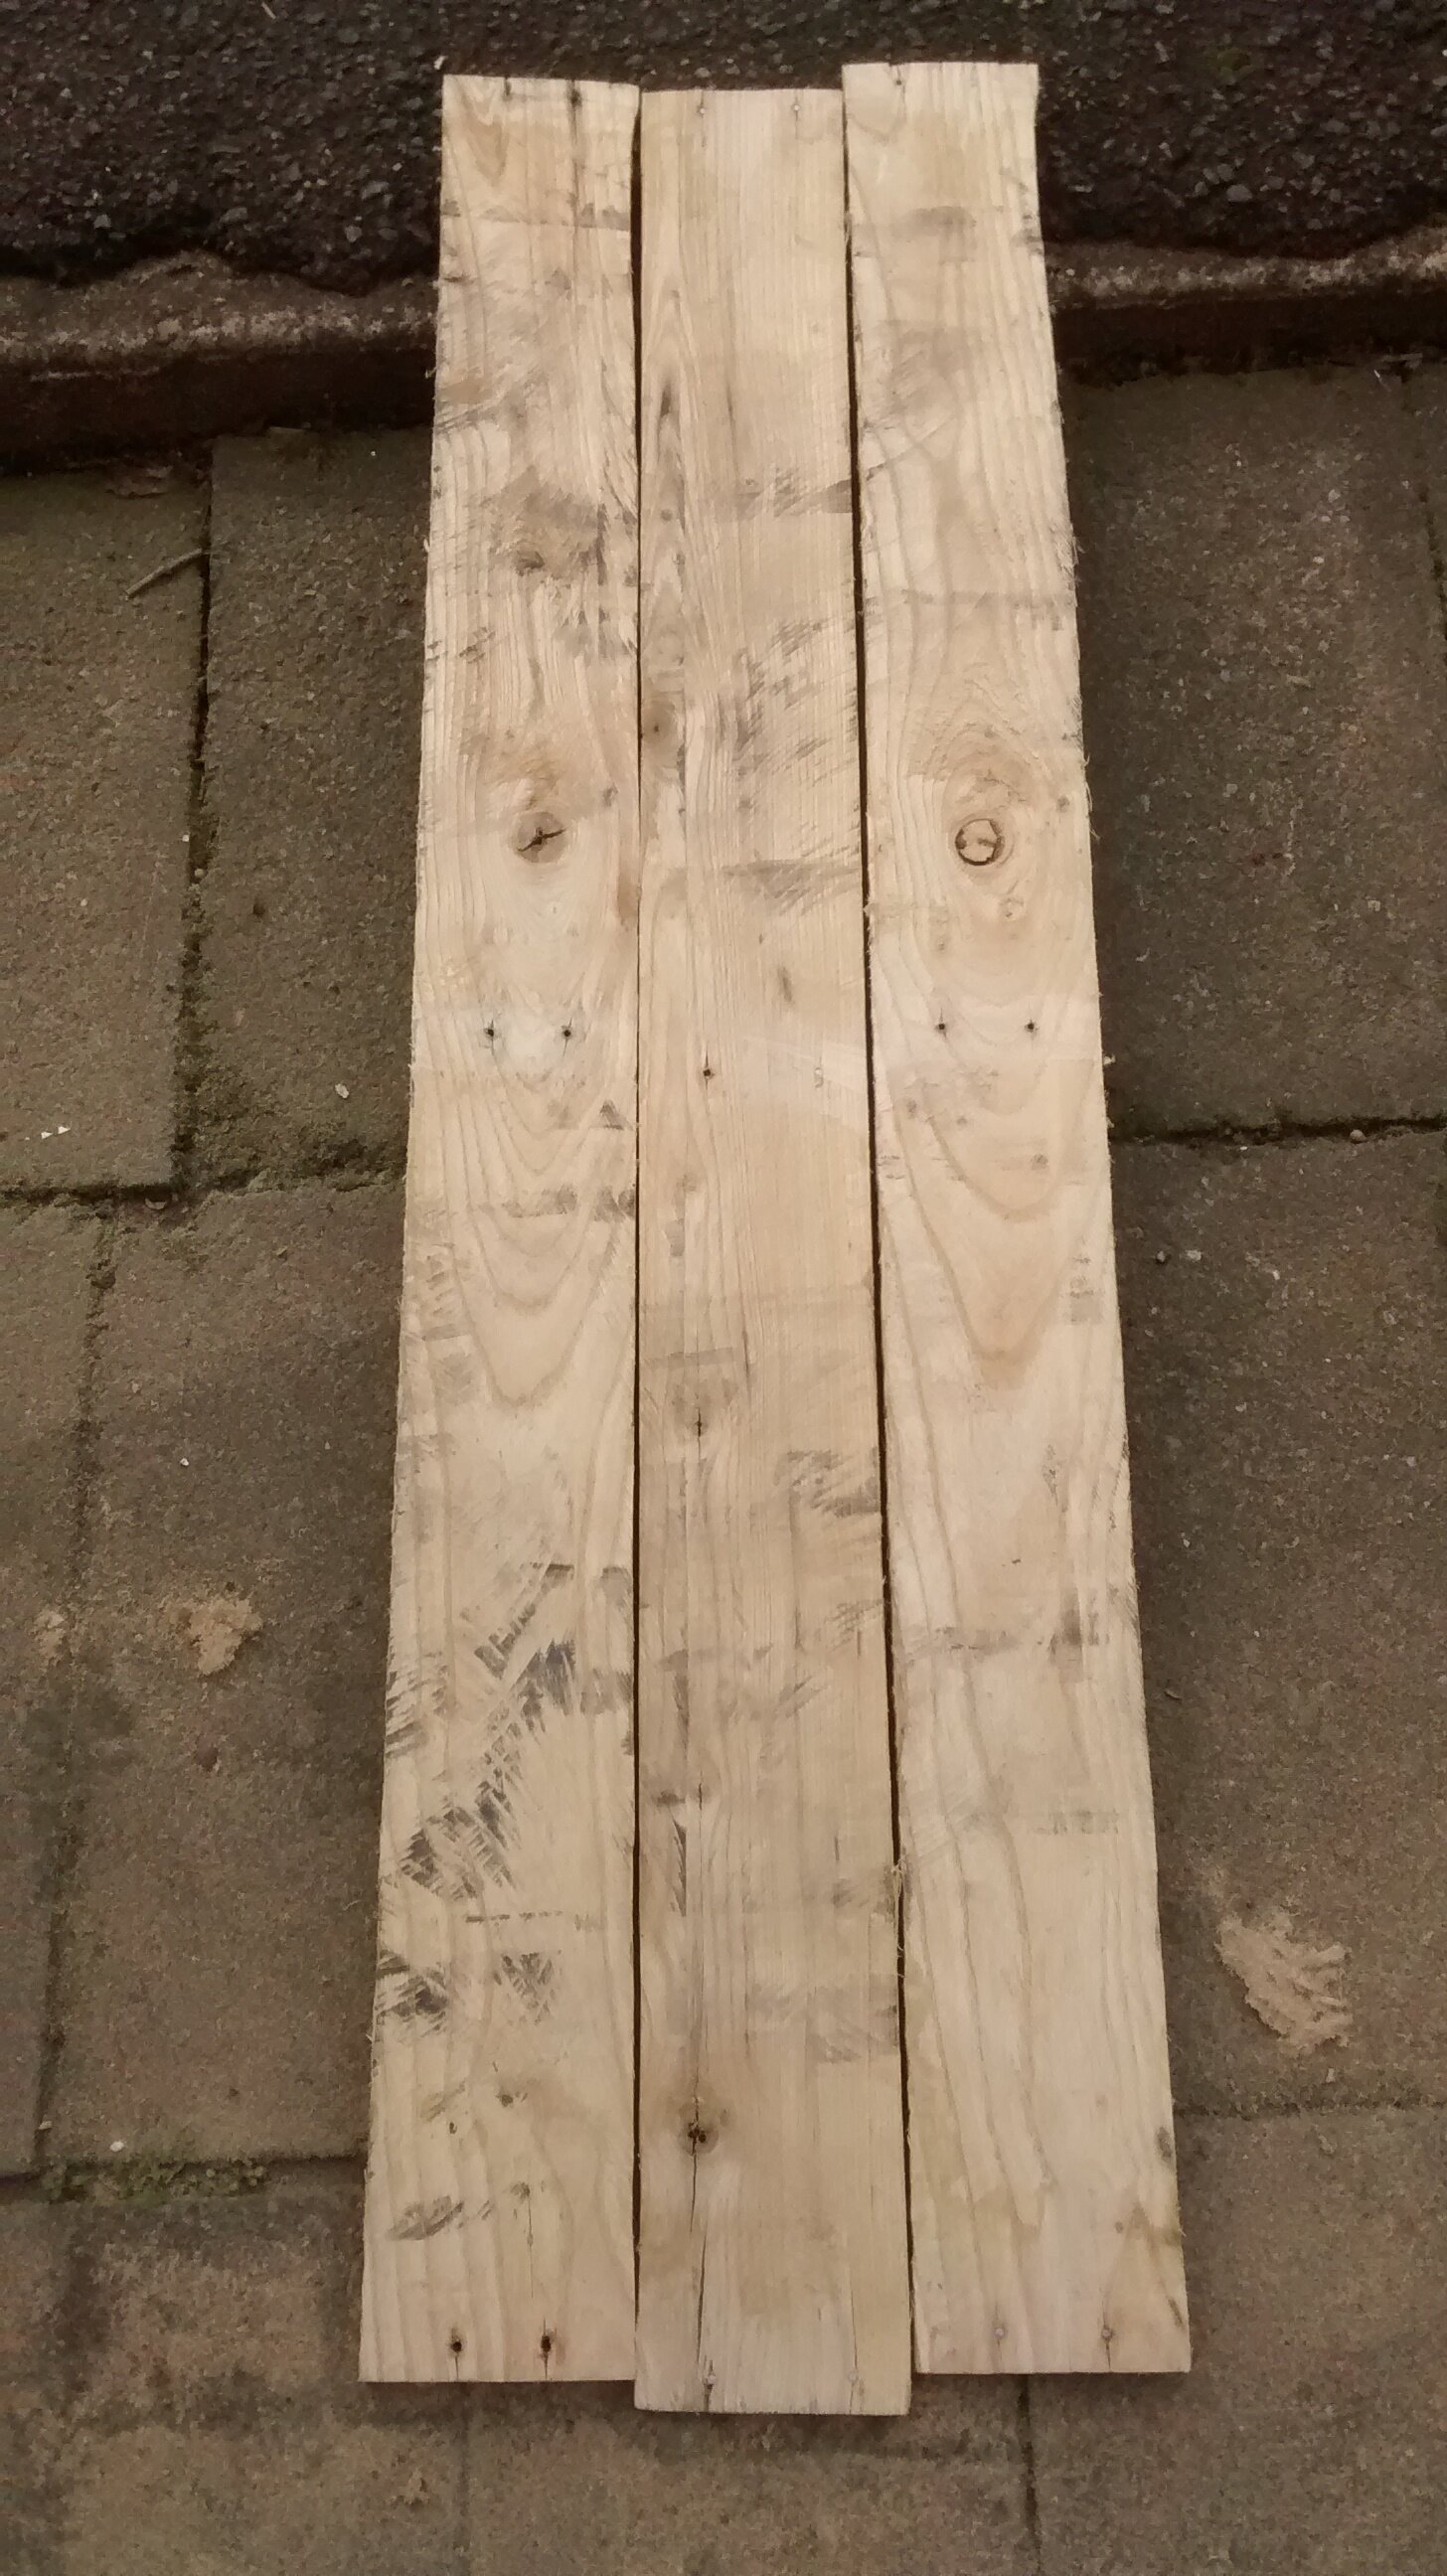
For the frame I used what I’m pretty sure is oak wood from a pallet I found on the sidewalk next to Duke Ellington School of the Arts in the nearby Burleith neighborhood of D.C. This wood was in very rough shape, but I got it looking nice by washing it off, then using a belt sander and finally hand sanding. I used my circular saw to rip down the width of the boards by about 1.5 inches. I used a router to cut away one long edge, to accommodate the recessed backing piece. I used my miter saw to but the original boards down to their final length. The placement of the original nails precluded me from creating beveled corner joints, so I went with butt joints. I secured the four corners with glue and wood screws, covering the recessed screw heads with wood putty. I applied Minwax “Provincial” stain to the frame, which nicely complements the tone of the metal. I finished the frame with three coats of Minwax water-based clear satin Polycrylic, with a light sanding before the final coat. I did these stain and poly finishing steps to all but one exterior side of the frame, where I had to attach the handle; after that, I finished the final side.
The backing piece is exterior grade plywood, cut in a classic bead-board pattern, which I found months earlier in an alley across the street from my house. I applied flat white paint to the plywood and quickly wiped some of it off, for a whitewashed look, like you might see in an old farmhouse. This treatment of the background helps reveal some of the wood grain and creates a nice contrast with the frame and the shovel head. I attached the backing to the virtually finished frame with wood screws.
The final major step was to firmly attach the shovel head to the frame and the backing piece. I cut off almost the entire handle, leaving only a short stub sticking out of the sheath. I drilled a shallow hole about the same diameter as the handle stub in one of the short inside surfaces of the frame. I used glue on the inside and countersunk a long wood screw from the outside of the frame into the stub as one attachment point. I also used some leftover pine 1x2 lumber and a dowel to create a means for holding the shovel head down against the backing piece. It’s attached with glue and four wood screws from behind.


Related Items: Round Shovel Head in Reclaimed Wood Frame; Gas Valve Cover Wall Art; Found Metal and Reclaimed Wood Circular Wall Art #1; Found Metal and Reclaimed Wood Circular Wall Art #2; Found Metal and Reclaimed Wood Circular Wall Art #3; Rough and Rustic Reclaimed Wood Star #1; Rough and Rustic Reclaimed Wood Star #1; Rough and Rustic Square in Square; Lawnmower Blade “Sculpture” #1; Lawnmower Blade “Sculpture” #2; Lawnmower Blade “Sculpture” #3; Lawnmower Blade Table Lamp.